大家好,欢迎来到IT知识分享网。
1、相关概念
2、模式”1″
3、模式”L”
4、模式”P”
5、模式”RGBA”
6、模式”CMYK”
8、模式”YCbCr”
9、模式”I”
10、模式”F”
1、相关概念
所谓图像模式,就是把色彩分解成部分颜色组件,对颜色组件不同的分类就形成了不同的色彩模式。(摘自百度百科)所谓位图,又称栅格图(英语:Raster graphics)或点阵图,是使用像素阵列(Pixel-array/Dot-matrix点阵)来表示的图像。位图的像素都分配有特定的位置和颜色值。每个像素的颜色信息由RGB组合或者灰度值表示。根据位深度,可将位图分为1、4、8、16、24及32位图像等。每个像素使用的信息位数越多,可用的颜色就越多,颜色表现就越逼真,相应的数据量越大。例如,位深度为 1 的像素位图只有两个可能的值(黑色和白色),所以又称为二值位图。位深度为 8 的图像有 28(即 256)个可能的值。位深度为 8 的灰度模式图像有 256 个可能的灰色值。(摘自维基百科)所谓RGB图像,由三个颜色通道组成。8 位/像素的 RGB 图像中的每个通道有 256 个可能的值,这意味着该图像有 1600 万个以上可能的颜色值。有时将带有 8 位/通道 (bpc) 的 RGB 图像称作 24 位图像(8 位 x 3 通道 = 24 位数据/像素)。通常将使用24位RGB组合数据位表示的的位图称为真彩色位图。所谓BMP文件,是微软公司所开发的一种交换和存储数据的方法,各个版本的Windows都支持BMP格式的文件。Windows提供了快速、方便的存储和压缩BMP文件的方法。BMP格式的缺点是,要占用较大的存储空间,文件尺寸太大。在PIL中,图像模式大致分为九种,分别为:1,L,P,RGB,RGBA,CMYK,YCbCr,I, F。
2、模式”1″
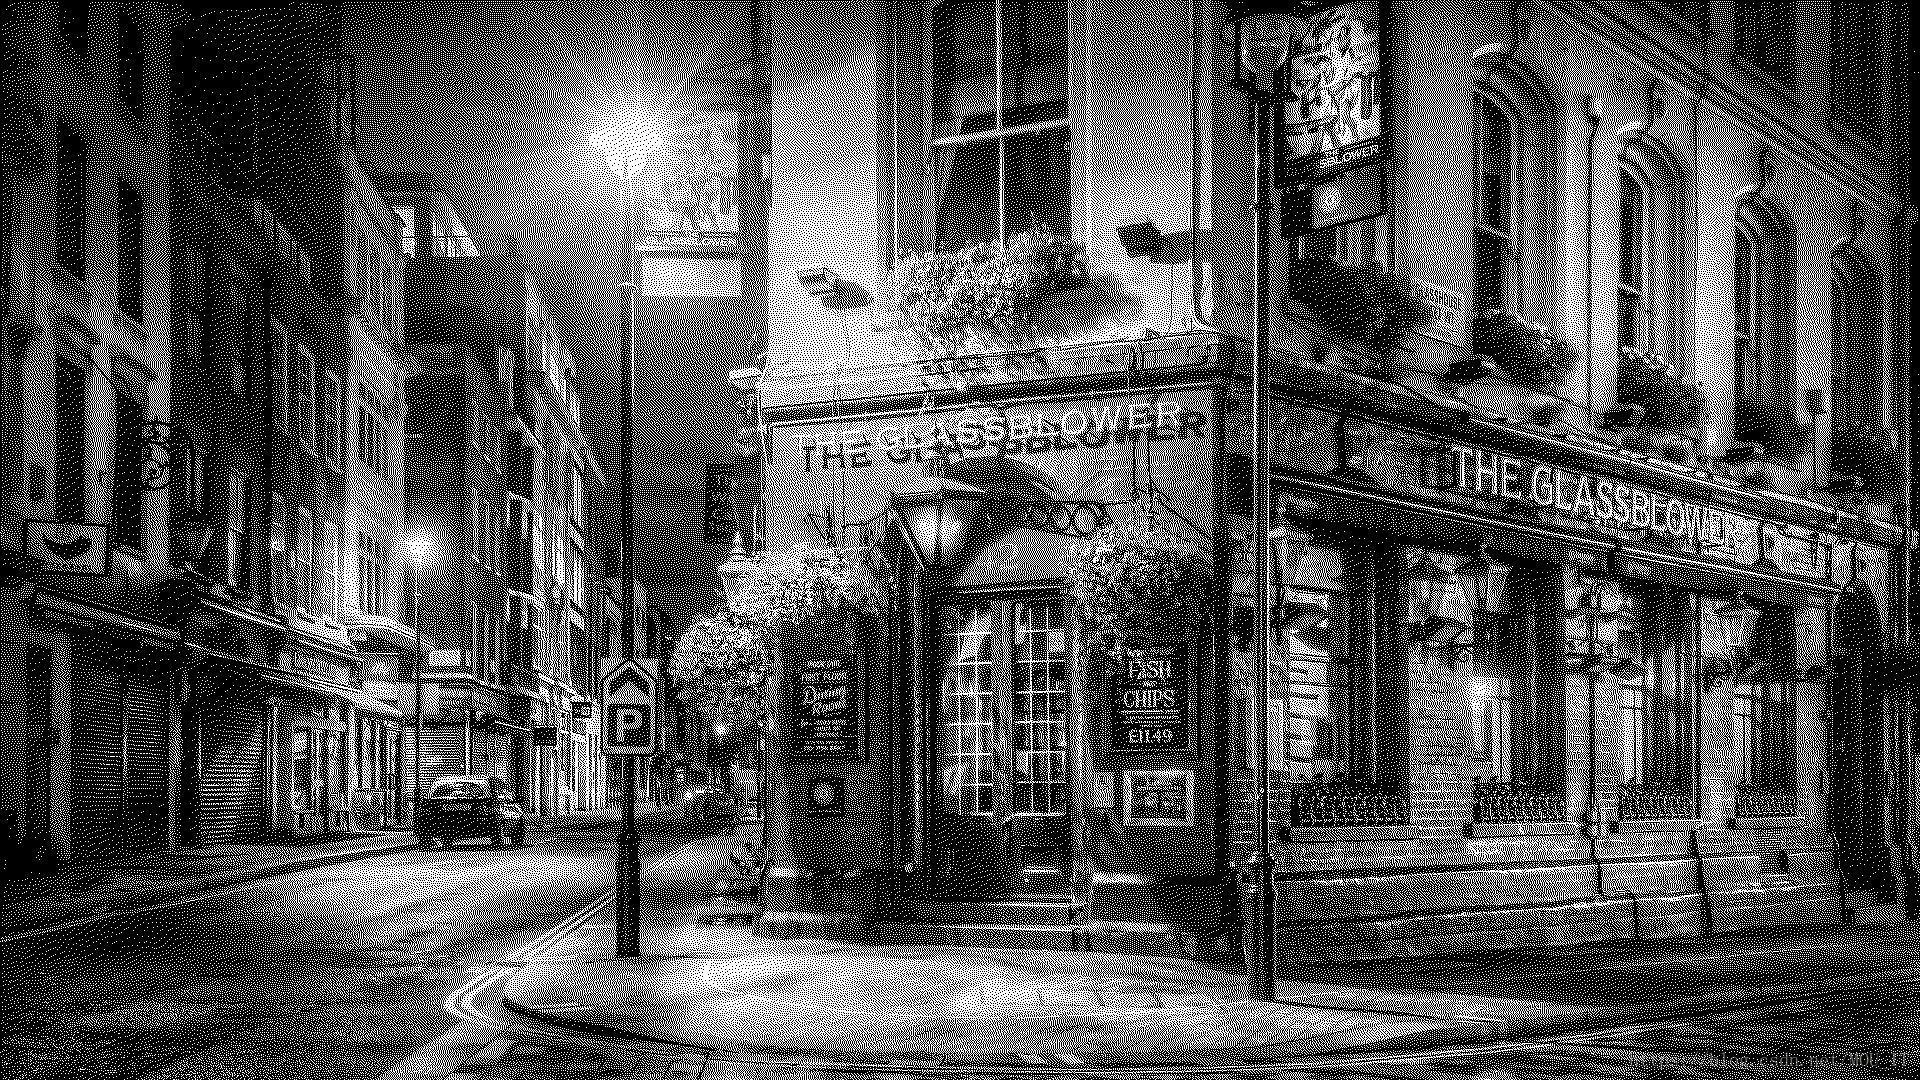
模式”1″为二值图像,非黑即白。但是它的每个像素用8个bit表示,0表示黑,255表示白。
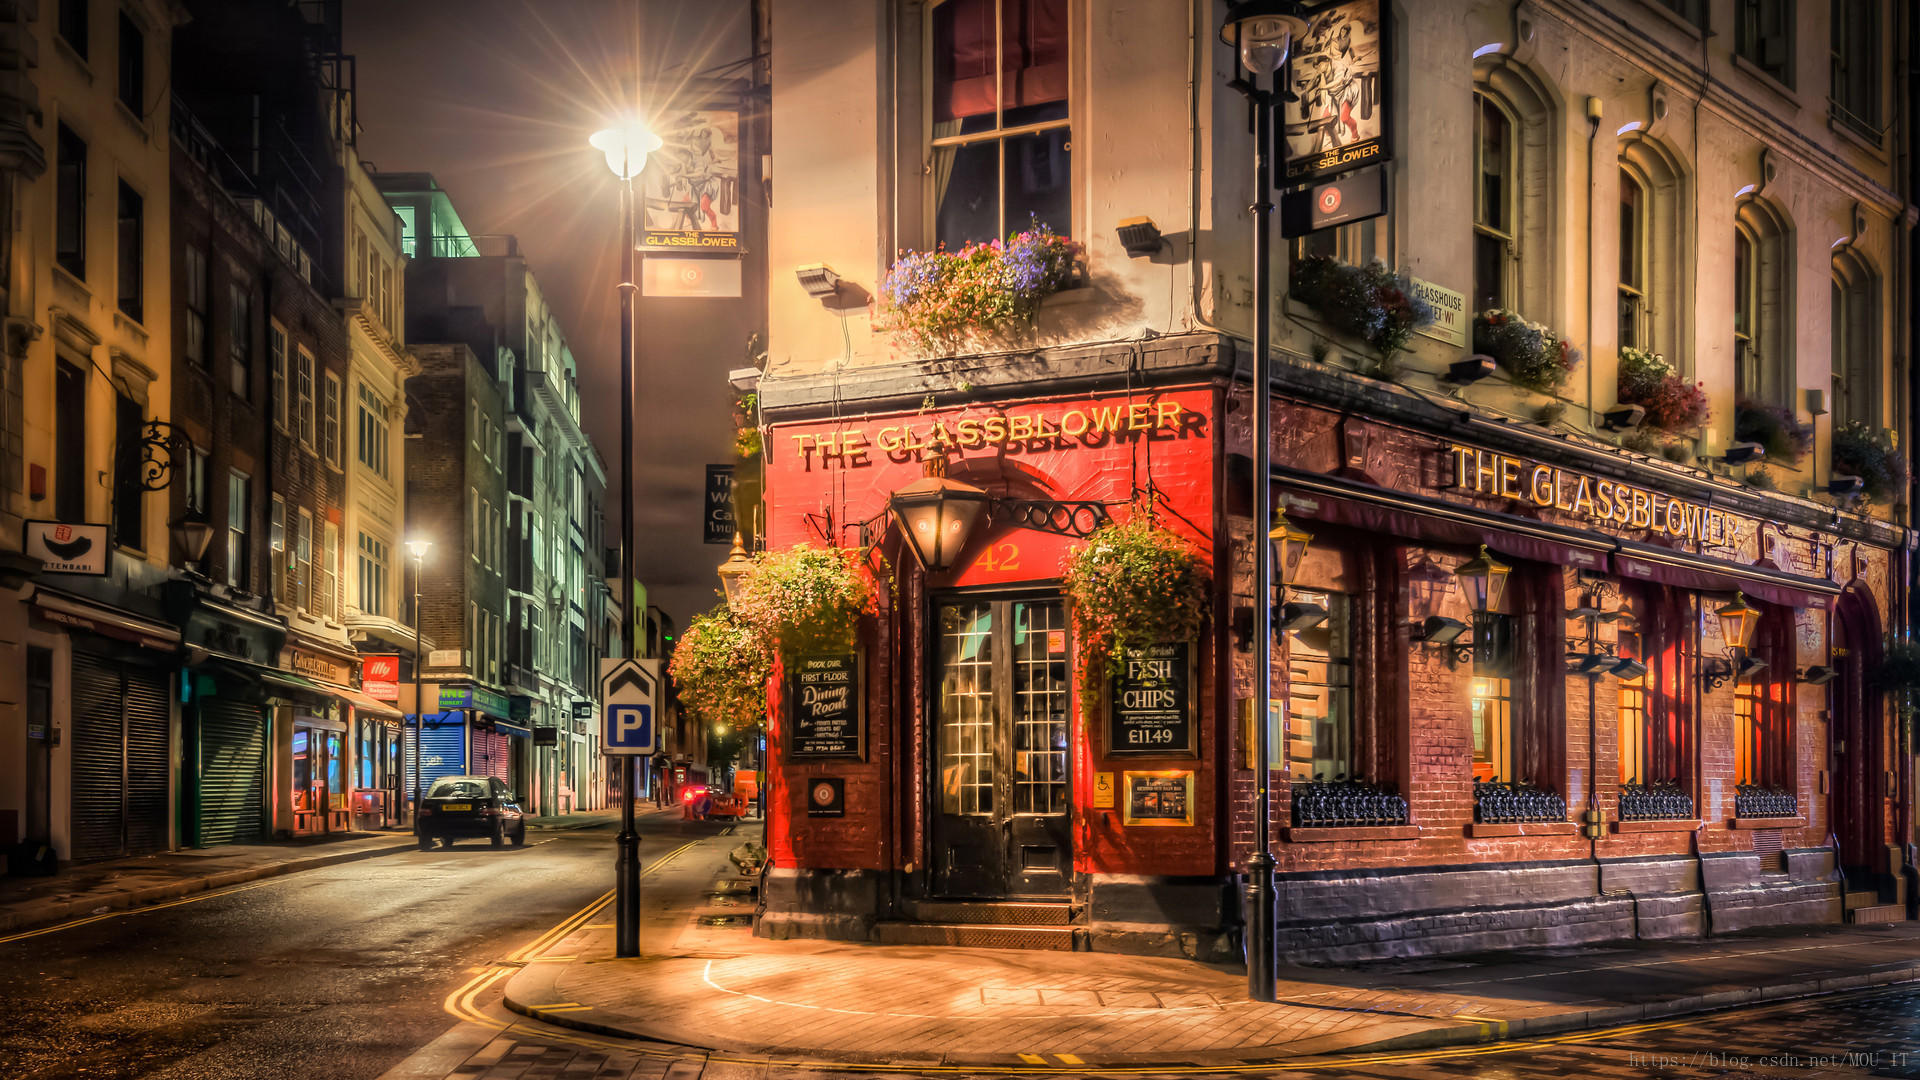
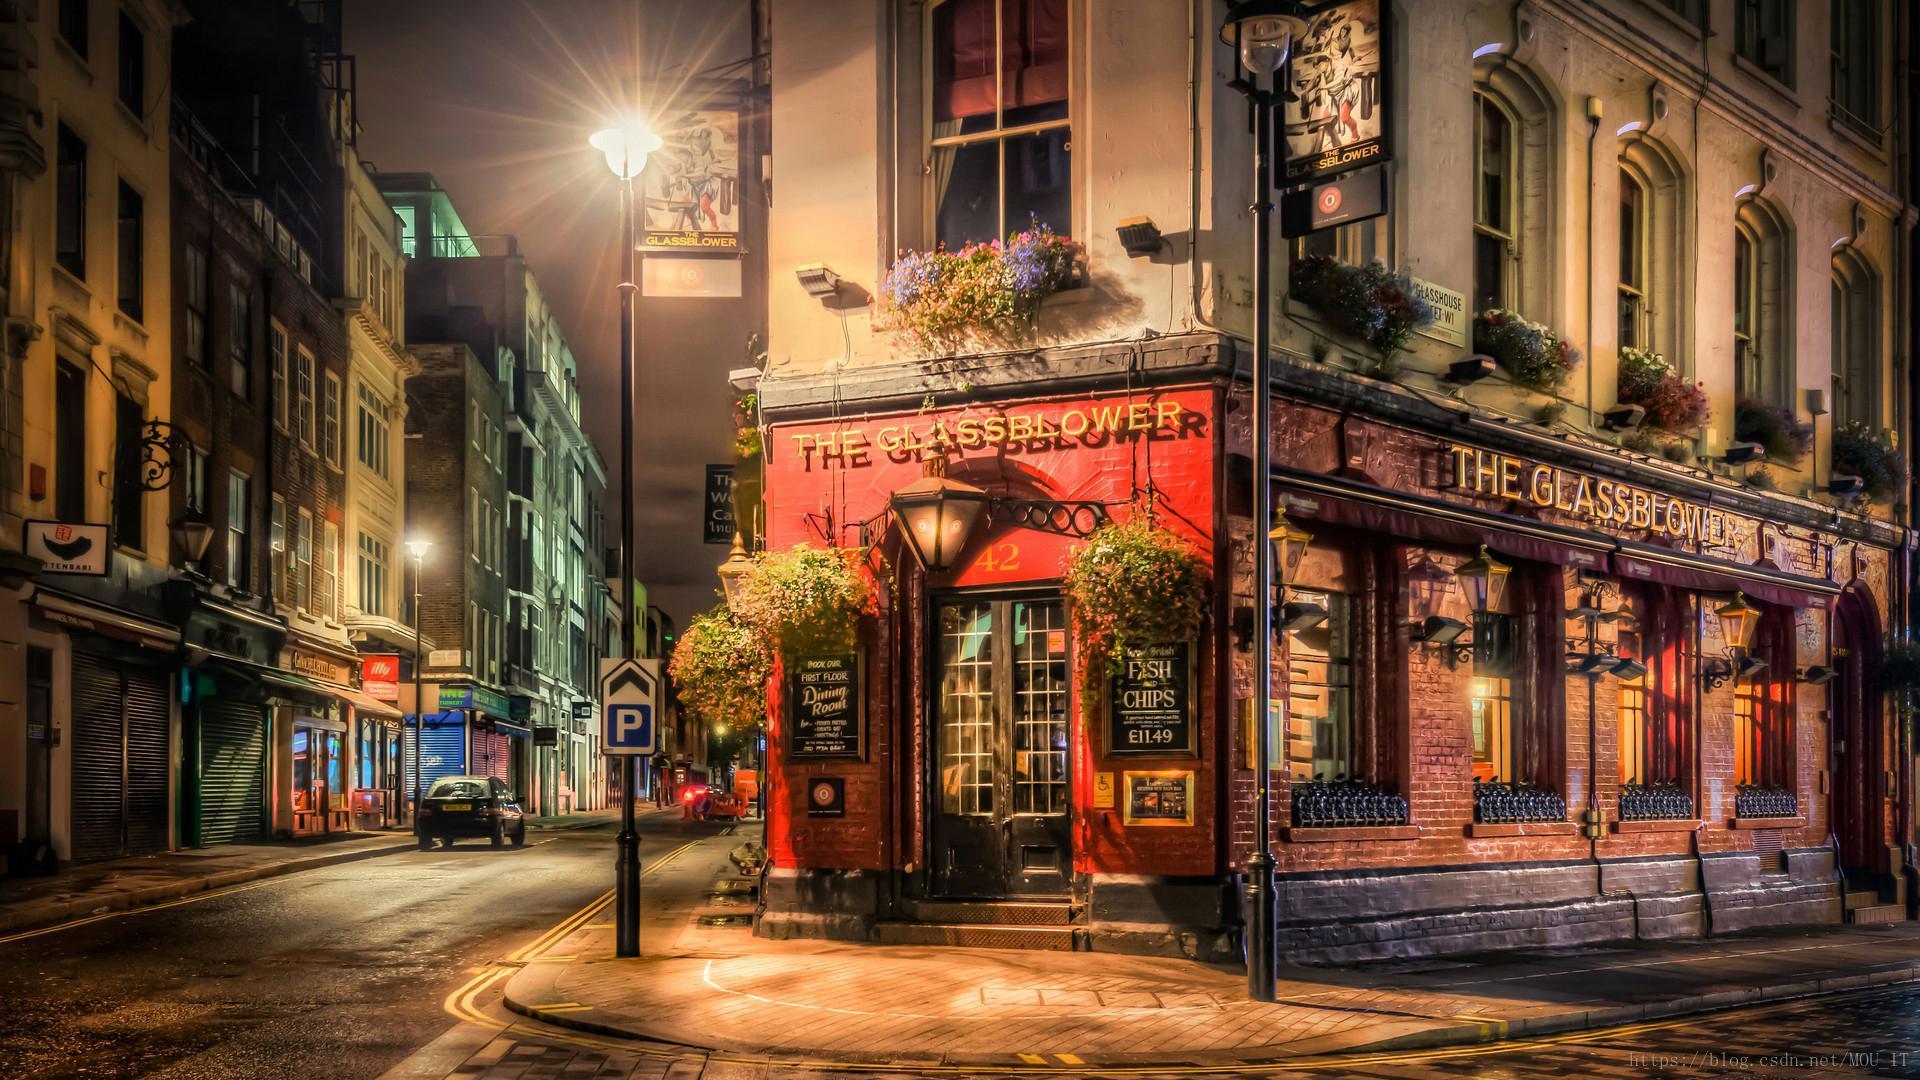
以上面这张图片作为实验样例(empire.jpg),上图是RGB模式的,现在将其转换为模式为”1″.
from PIL import Imageempire = Image.open('empire.jpg')print(empire.mode) # RGBempire_1 = empire.convert('1')print(empire_1.mode) # 1print(empire.size, empire_1.size) # (1920, 1080) (1920, 1080)print(empire.getpixel((0, 0))) # (9, 5, 2)print(empire.getpixel((10, 120))) # (21, 16, 10)print(empire_1.getpixel((0, 0))) # 0print(empire_1.getpixel((10, 120))) # 255empire_1.save("empire_1.jpg")
3、模式”L”
from PIL import Imageempire = Image.open('empire.jpg')print(empire.mode) # RGBempire_1 = empire.convert('L')print(empire_1.mode) # 1print(empire.size, empire_1.size) # (1920, 1080) (1920, 1080)print(empire.getpixel((0, 0))) # (9, 5, 2)print(empire.getpixel((10, 120))) # (21, 16, 10)print(empire_1.getpixel((0, 0))) # 5print(empire_1.getpixel((10, 120))) # 16empire_1.save("empire_L.jpg")
同样地,先是打开一个RGB模式的图片,然后将其转换为模式为”L”的图片,可以看到模式变化后,图片大小前后并未发生改变,然后对比了相同坐标位置的不同模式下的像素值,可以看到,对于RGB模式图像,像素值包含R,G,B三点要素的占比,而对于模式为”L”的图像,不同于模式”1″, 像素值可以取到0-255之间的任何值。最后,将转换成功的模式为”L”的图像保存,图片显示如下:
4、模式”P”
from PIL import Imageempire = Image.open('empire.jpg')print(empire.mode) # RGBempire_1 = empire.convert('P')print(empire_1.mode) # 1print(empire.size, empire_1.size) # (1920, 1080) (1920, 1080)print(empire.getpixel((0, 0))) # (9, 5, 2)print(empire.getpixel((10, 120))) # (21, 16, 10)print(empire_1.getpixel((10, 1))) # 11print(empire_1.getpixel((101, 33))) # 17empire_1.save("empire_P.bmp")
代码基本不变,转换后的图像如图:
5、模式”RGBA”
“RGBA”模式为32位彩色模式,其中24个bit分别表示红色,绿色,蓝色三个通道,另外8个bit 表示alpha通道,即透明通道。
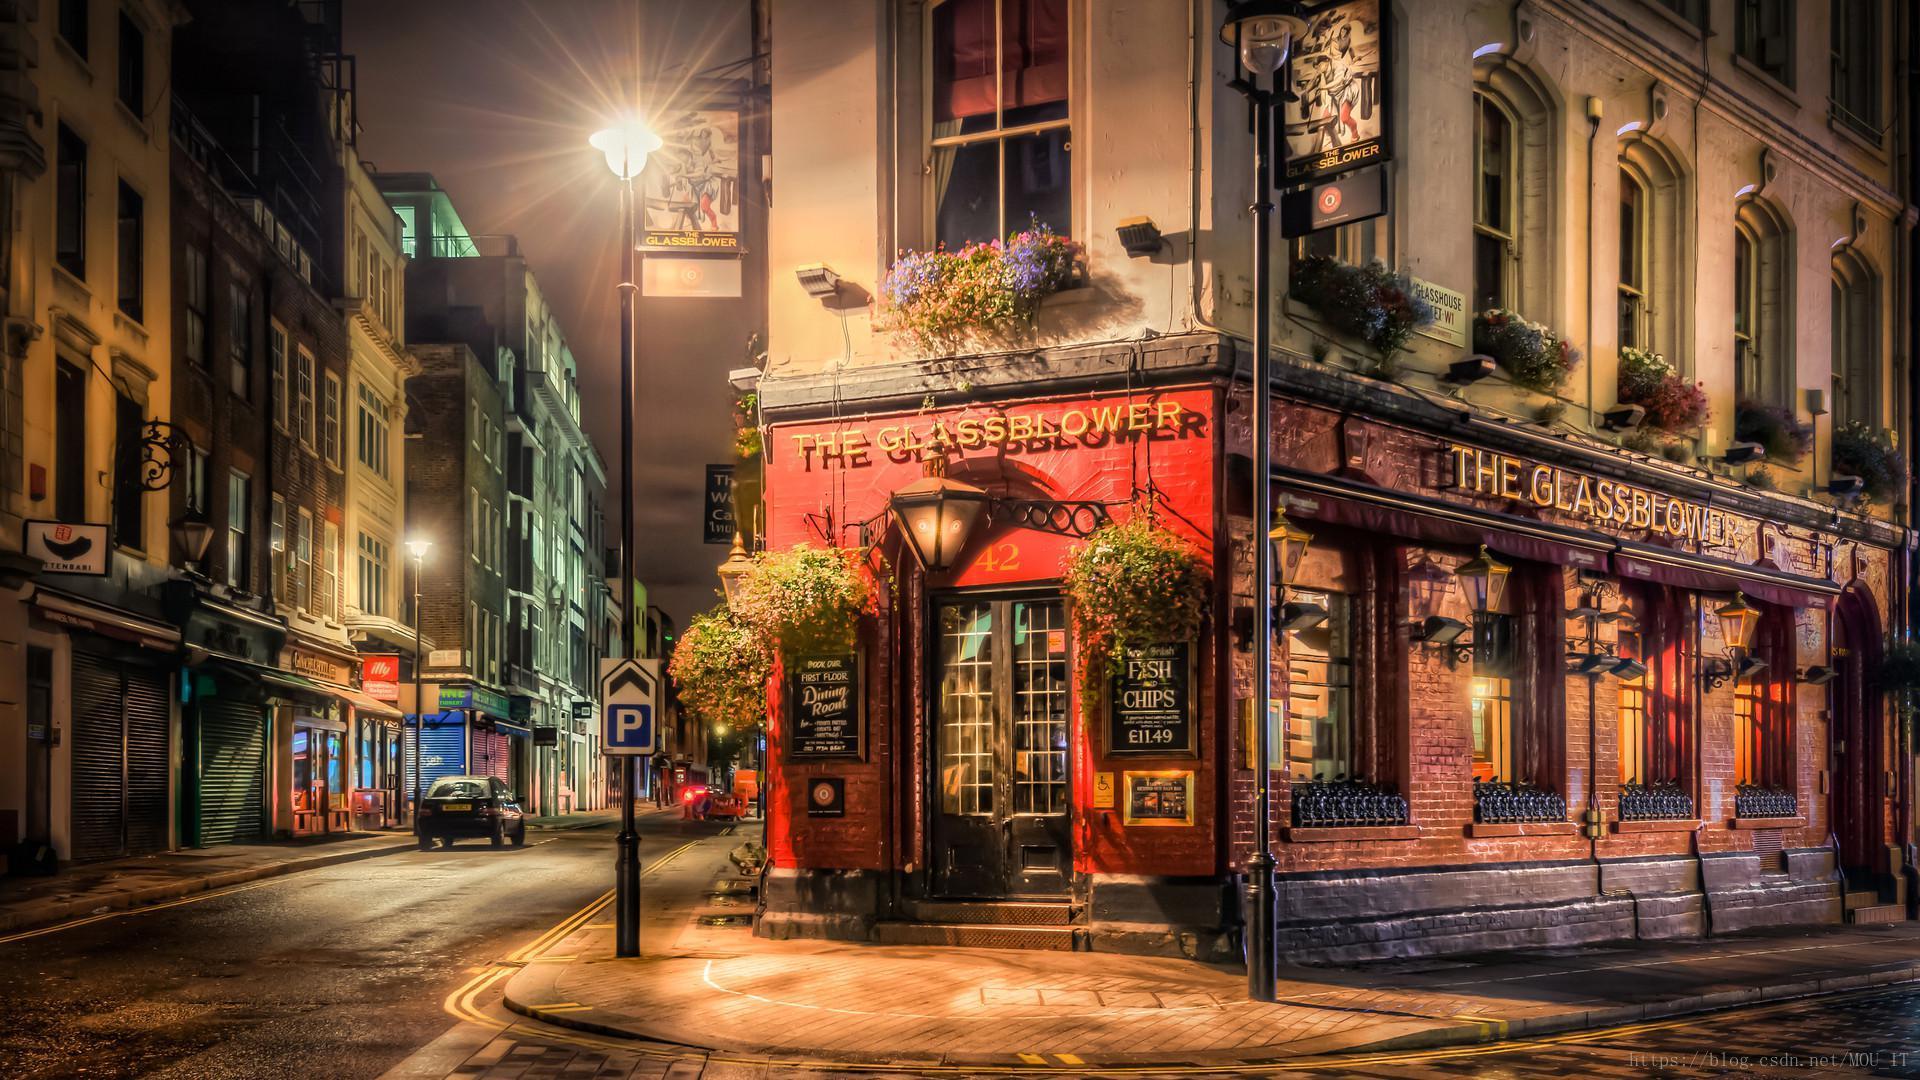
from PIL import Imageempire = Image.open('empire.jpg')print(empire.mode) # RGBempire_1 = empire.convert('RGBA')print(empire_1.mode) # 1print(empire.size, empire_1.size) # (1920, 1080) (1920, 1080)print(empire.getpixel((0, 0))) # (9, 5, 2)print(empire.getpixel((10, 120))) # (21, 16, 10)print(empire_1.getpixel((10, 1))) # (25, 20, 14, 255)print(empire_1.getpixel((101, 33))) # (47, 33, 22, 255)empire_1.save("empire_RGBA.jpg")
当将RGB转换为RGBA模式的图像时,alpha通道全部为255,即完全不透明。图像如下:
6、模式”CMYK”
from PIL import Imageempire = Image.open('empire.jpg')print(empire.mode) # RGBempire_1 = empire.convert('CMYK')print(empire_1.mode) # 1print(empire.size, empire_1.size) # (1920, 1080) (1920, 1080)print(empire.getpixel((0, 0))) # (9, 5, 2)print(empire.getpixel((10, 120))) # (21, 16, 10)print(empire_1.getpixel((10, 1))) # (230, 235, 241, 0)print(empire_1.getpixel((101, 33))) # (208, 222, 233, 0)empire_1.save("empire_CMYK.jpeg")
8、模式”YCbCr”
模式“YCbCr”为24位彩色图像,它的每个像素用24个bit表示。YCbCr其中Y是指亮度分量,Cb指蓝色色度分量,而Cr指红色色度分量。人的肉眼对视频的Y分量更敏感,因此在通过对色度分量进行子采样来减少色度分量后,肉眼将察觉不到的图像质量的变化。
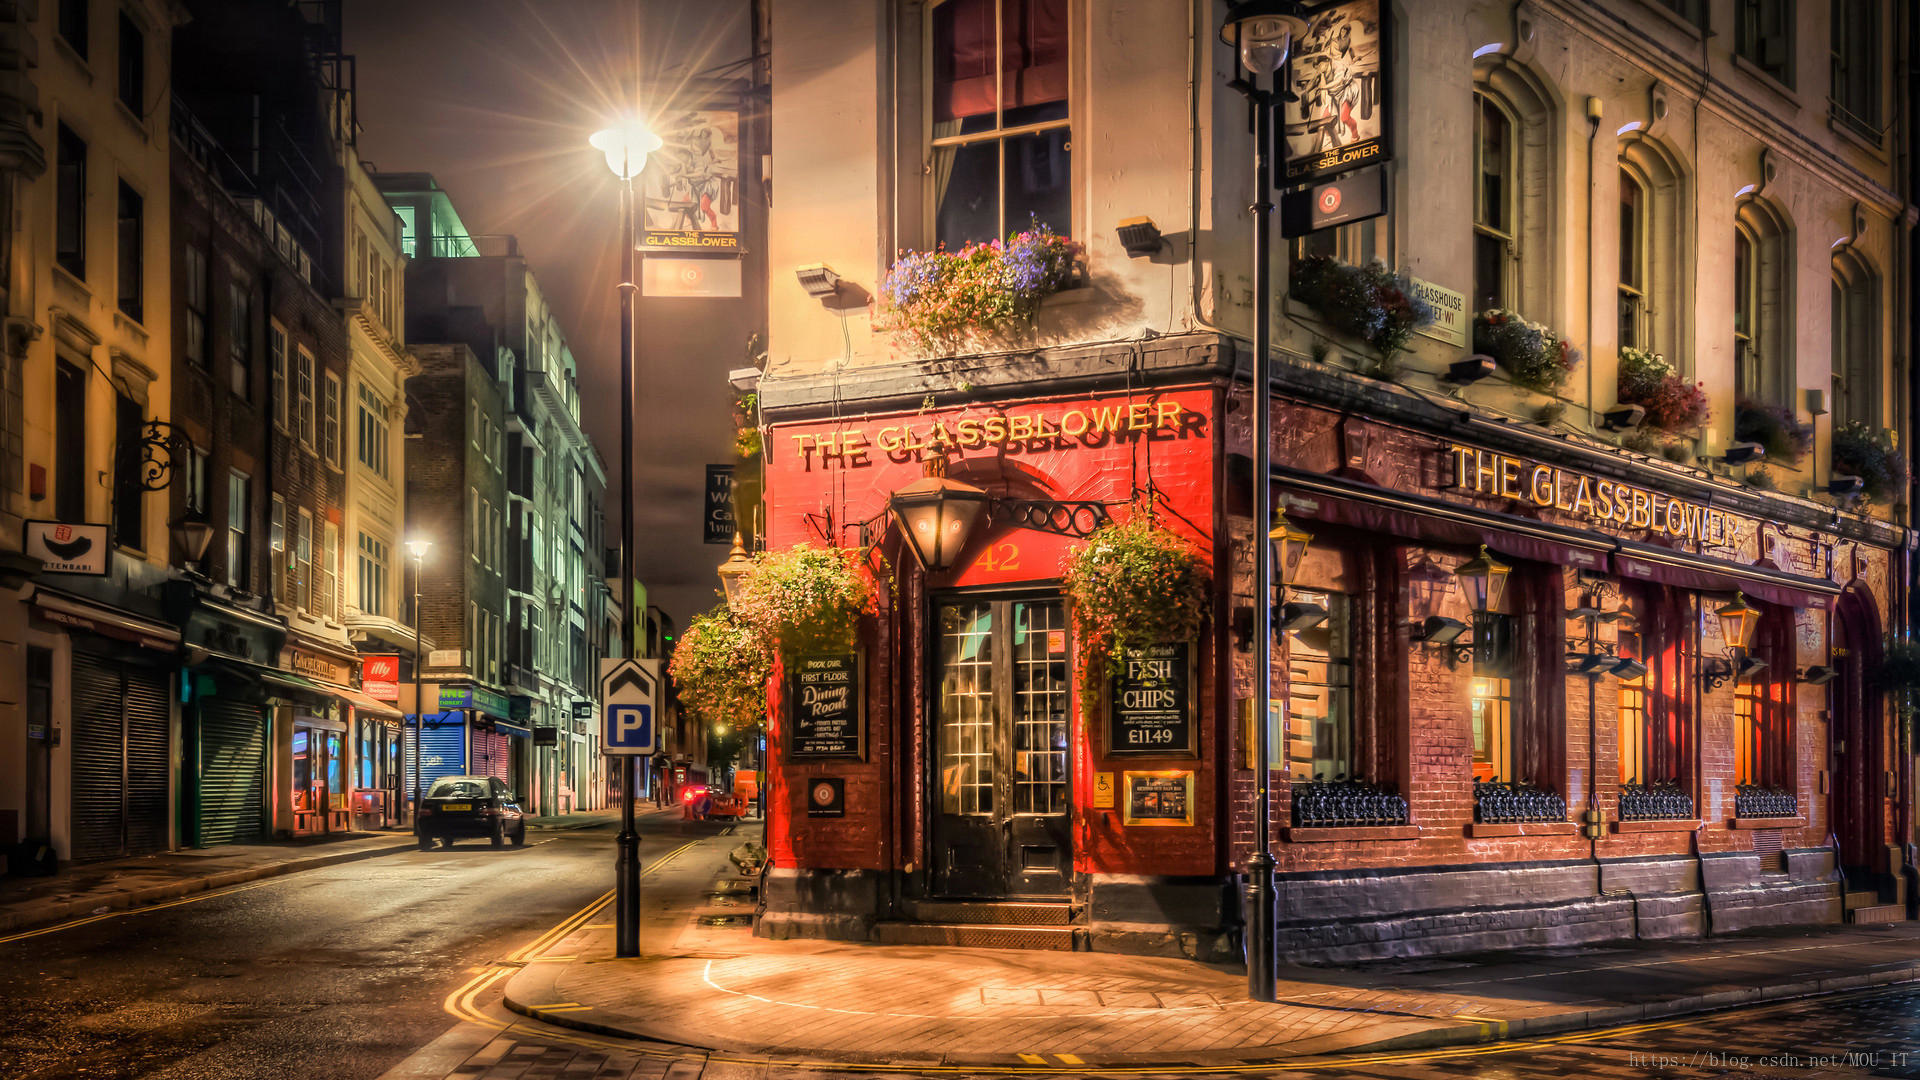
from PIL import Imageempire = Image.open('empire.jpg')print(empire.mode) # RGBempire_1 = empire.convert('YCbCr')print(empire_1.mode) # 1print(empire.size, empire_1.size) # (1920, 1080) (1920, 1080)print(empire.getpixel((0, 0))) # (9, 5, 2)print(empire.getpixel((10, 120))) # (21, 16, 10)print(empire_1.getpixel((10, 1))) # (20, 124, 131)print(empire_1.getpixel((101, 33))) # (35, 120, 135)empire_1.save("empire_YCbCr.jpeg")
转换后的图像如下:
9、模式”I”
10、模式”F”
免责声明:本站所有文章内容,图片,视频等均是来源于用户投稿和互联网及文摘转载整编而成,不代表本站观点,不承担相关法律责任。其著作权各归其原作者或其出版社所有。如发现本站有涉嫌抄袭侵权/违法违规的内容,侵犯到您的权益,请在线联系站长,一经查实,本站将立刻删除。 本文来自网络,若有侵权,请联系删除,如若转载,请注明出处:https://haidsoft.com/120601.html

