大家好,欢迎来到IT知识分享网。
系列文章
Svg Flow Editor 原生svg流程图编辑器(一)
Svg Flow Editor 原生svg流程图编辑器(二)
Svg Flow Editor 原生svg流程图编辑器(三)
Svg Flow Editor 原生svg流程图编辑器(四)
Svg Flow Editor 原生svg流程图编辑器(五)
说明
这项目也是我第一次写TS代码哈,现在还被绕在类型中头昏脑胀,更新可能会慢点,大家见谅~
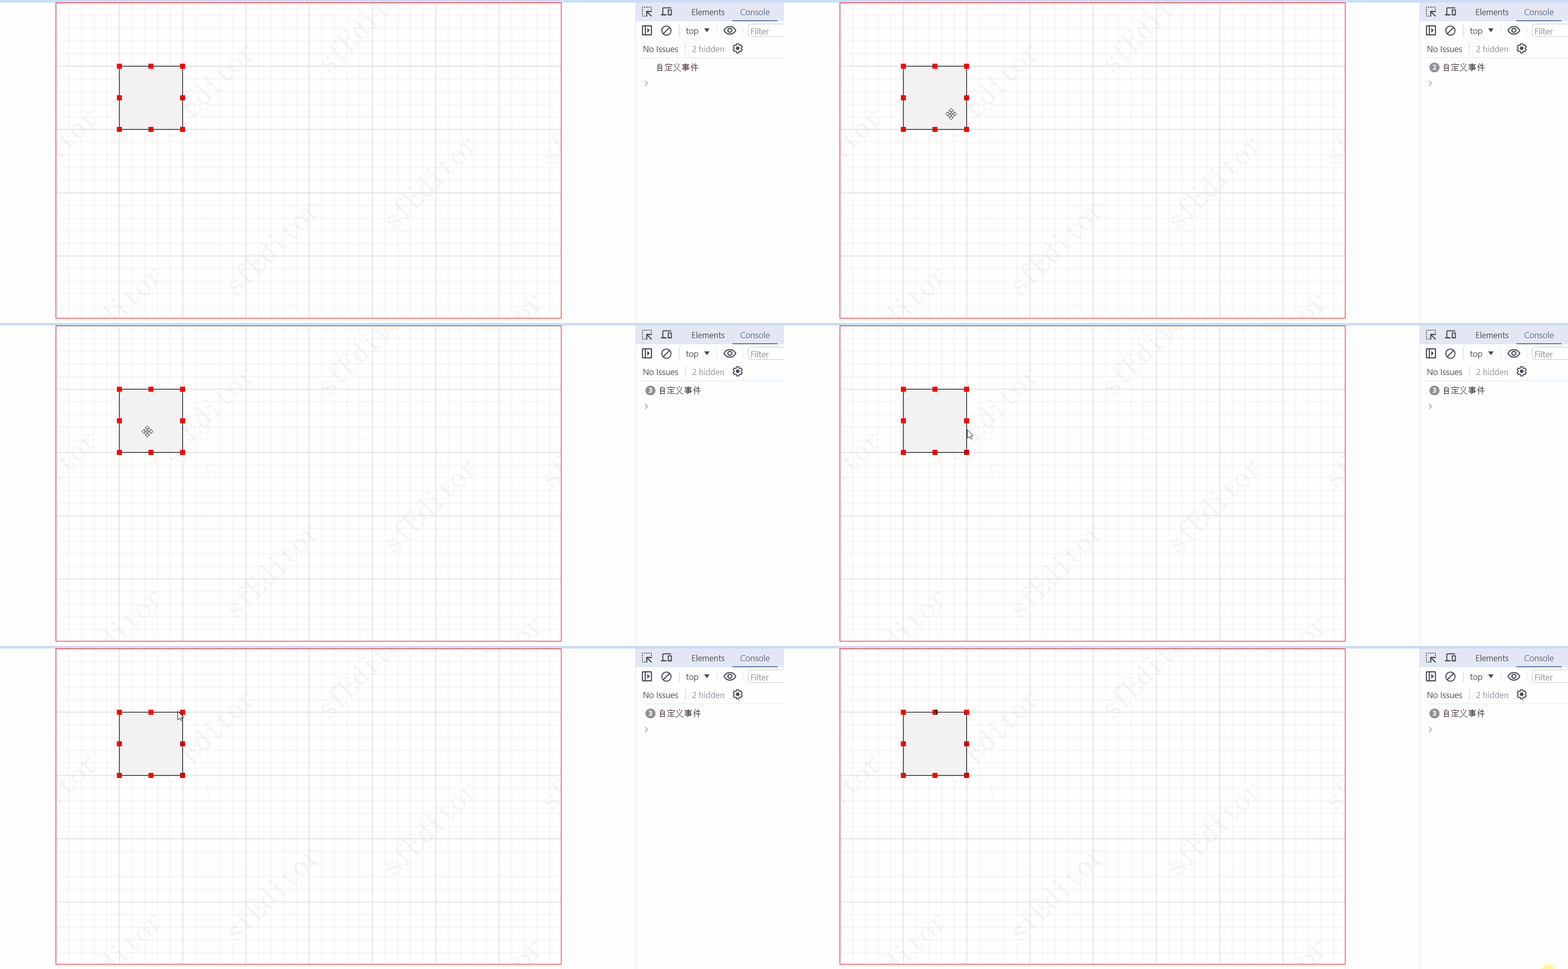
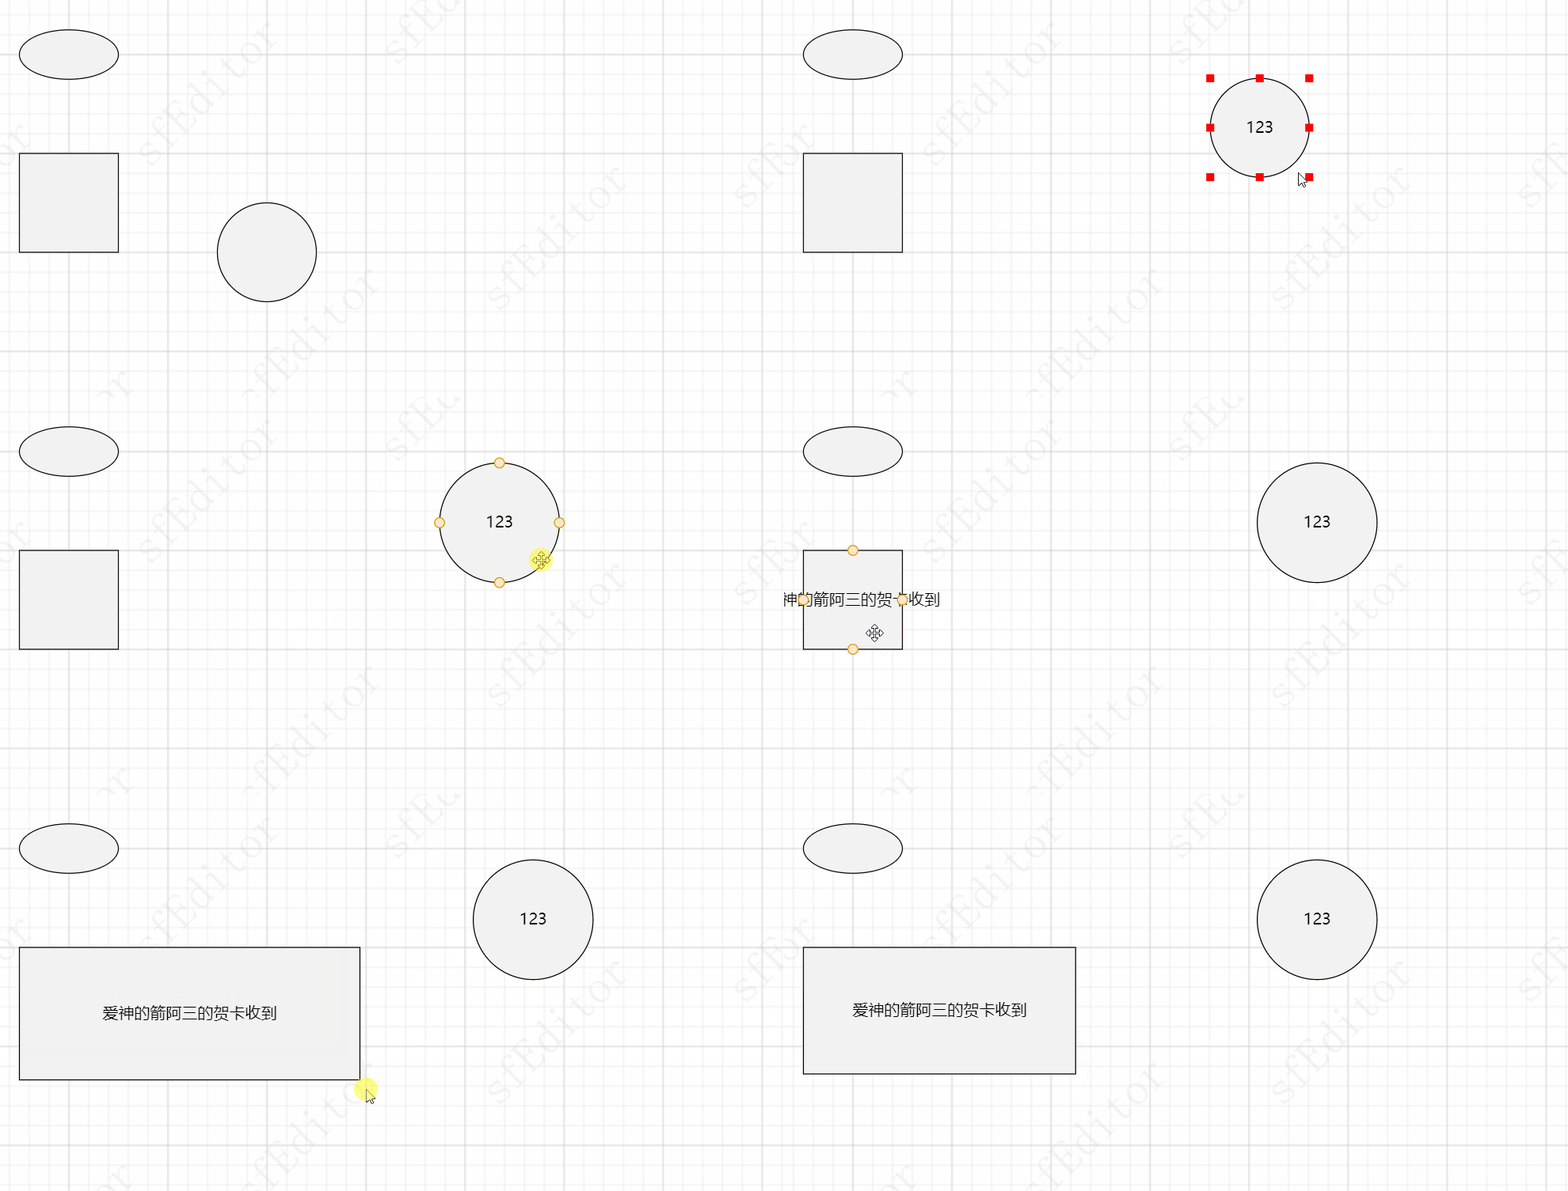
目前实现的功能:1. 元件的创建、移动、形变;2. command API;3. eventBus listener 事件监听;4. register 自定义右键菜单; 5. 多实例化; 6. 文本创建与跟随。
实现形变锚点
形变锚点的添加思想与连接锚点类似,但是是通过动态创建实现(是在commonEvent中处理哈,因为每一个创建的svg元组都需要实现该效果):
// click 需要添加形变锚点 public click(e: Event, graph: IGraph) { const nodeID = graph.getID(); // 1. 先看是否目前选中的就是当前节点,是的话,直接返回,防止频繁点击元素 执行dom操作 const selectedID = this.getCurrentSelectedNodeID(); if (selectedID && selectedID === nodeID) return; // 2. 创建形变锚点 this.draw.createFormatAnchorPoint(e, graph); }核心方法: const points = []; / * 顺序如下 * 1 2 3 * 8 4 * 7 6 5 */ points.push({ cursor: "nwse-resize", x, y }); points.push({ cursor: "ns-resize", x: x + width / 2, y: y }); points.push({ cursor: "nesw-resize", x: x + width, y: y }); points.push({ cursor: "ew-resize", x: x + width, y: y + height / 2 }); points.push({ cursor: "nwse-resize", x: x + width, y: y + height }); points.push({ cursor: "ns-resize", x: x + width / 2, y: y + height }); points.push({ cursor: "nesw-resize", x: x, y: y + height }); points.push({ cursor: "ew-resize", x: x, y: y + height / 2 }); // 循环创建 rect points.forEach(({ x, y, cursor }) => { const rect = document.createElementNS(xmlns, "rect"); rect.setAttribute("x", (x - 4).toString()); rect.setAttribute("y", (y - 4).toString()); rect.setAttribute("width", "8"); rect.setAttribute("height", "8"); rect.setAttribute("fill", "red"); // @ts-ignore rect.style.cursor = cursor; // 添加拖动事件 rect.addEventListener("mousedown", () => { console.log("形变锚点事件"); });而形变事件则是通过创建的锚点事件实现:
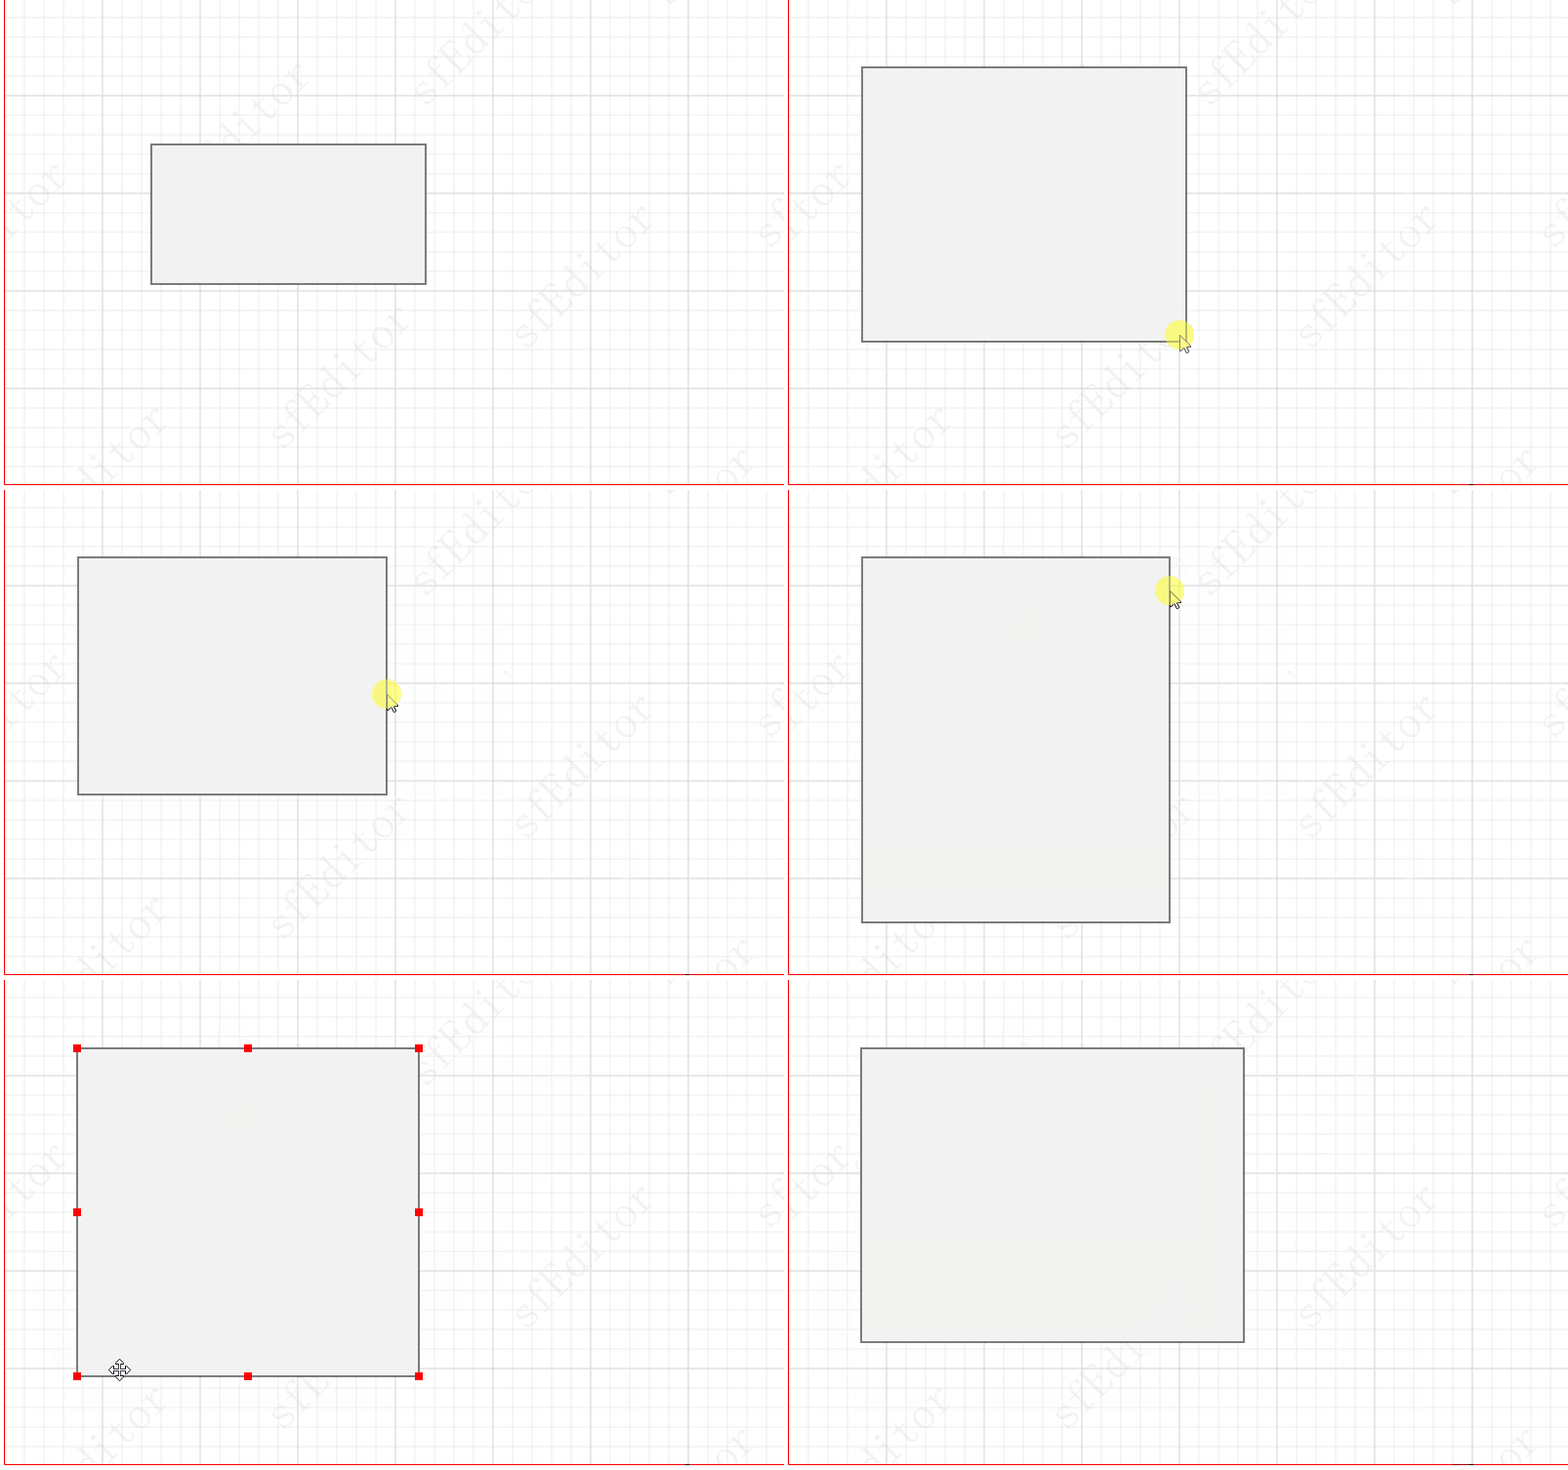
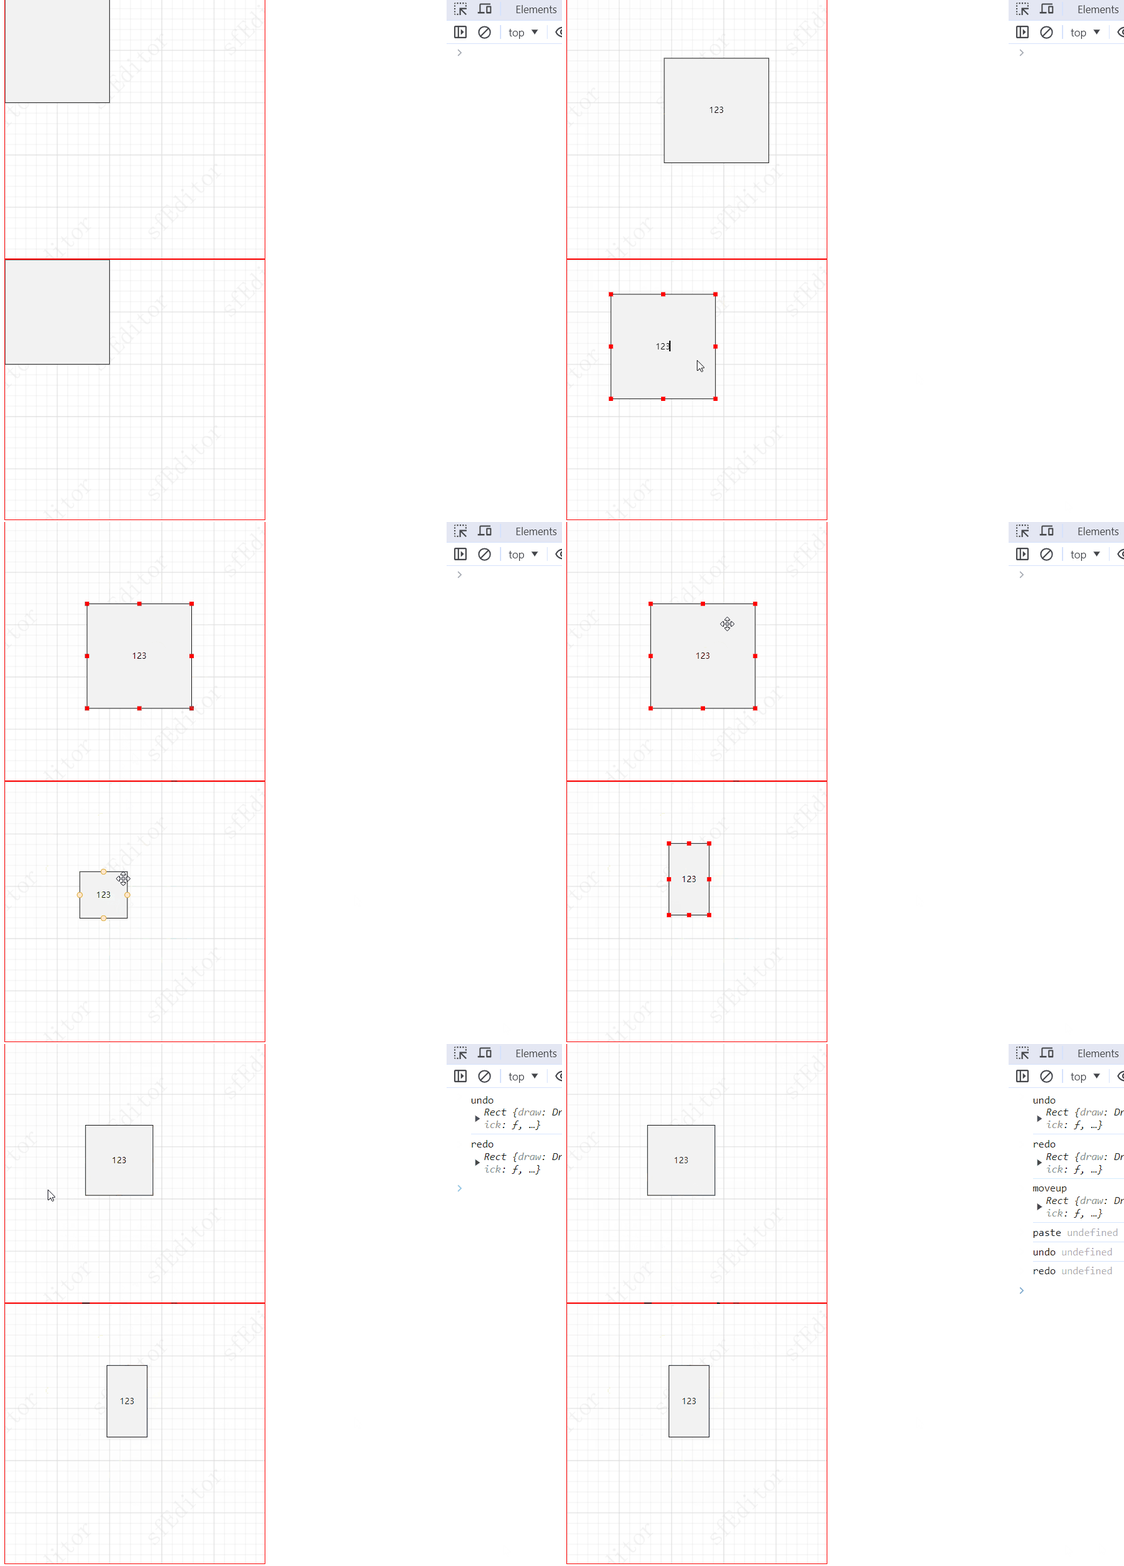
// 形变事件 rect.addEventListener("mousedown", () => this.handleFormatMousedown()); rect.addEventListener("mouseup", () => this.handleFormatMouseup());元件太小拖动不流畅优化
正常情况下,通过 mousedown、mousemove、mouseup 三个事件监听的移动拖拽事件,会导致元件太小失焦,从而不能实现流畅的拖拽,因此不适用该思路实现!!!
实现思路:通过监听down 事件,使得根元素监听move事件,因为根元素的move是不会收到元件大小的影响,可以实现流畅拖动。
// 形变事件处理 private handleFormatMousedown(_e: Event, rect: Element, graph: IGraph) { const svg = this.getSvg(this.getGraph().getSvgXmlns()); const element = graph.getElement(); const nodeID = graph.getID(); const xmlns = graph.getXmlns(); const { offsetX, offsetY } = _e as MouseEvent; const startX = offsetX; // 初始位置 const startY = offsetY; // 初始位置 var width = 0; // 初始宽度 var height = 0; // 初始高度 // 记录初始位置(这恶鬼也要根据targetName动态获取) switch (element.tagName) { case "rect": width = Number(element.getAttribute("width")); height = Number(element.getAttribute("height")); break; case "circle": width = Number(element.getAttribute("r")) * 2; height = width; break; case "ellipse": width = Number(element.getAttribute("rx")) * 2; height = Number(element.getAttribute("ry")) * 2; break; default: break; } // @ts-ignore pointer-events: none; 在拖动过程中,使得 rect 不能响应事件,才能往回托 element.style["pointer-events"] = "none"; // 实现内部函数,才能获取参数 const handleMousedown = (e: Event) => { / * 同时这个的宽高变化还要根据是从哪一个边拖拽,进行不同的宽高变化 */ const { offsetX, offsetY } = e as MouseEvent; // 设置 element 的宽高 const diffX = offsetX - startX; const diffY = offsetY - startY; // @ts-ignore 获取变化方向 const cursor = rect.style.cursor; switch (cursor) { case "ns-resize": // 只进行上下高度调整 element.setAttribute("height", (height + diffY).toString()); break; case "ew-resize": // 只进行左右宽度调整 element.setAttribute("width", (width + diffX).toString()); break; default: // 其他四个方向宽高都调整 element.setAttribute("width", (width + diffX).toString()); element.setAttribute("height", (height + diffY).toString()); break; } // 更新所有锚点 this.updateFormatAnchorPoint(); this.updateLinkAnchorPoint(nodeID, element, xmlns); e.preventDefault(); e.stopPropagation(); };临界值优化
// 临界值处理 if (resultX < MIN_WIDTH) width = MIN_WIDTH; if (resultX > MAX_WIDTH) width = MAX_WIDTH; if (resultY < MIN_HEIGHT) height = MIN_HEIGHT; if (resultY > MAX_HEIGHT) height = MAX_HEIGHT;反方向拖动优化
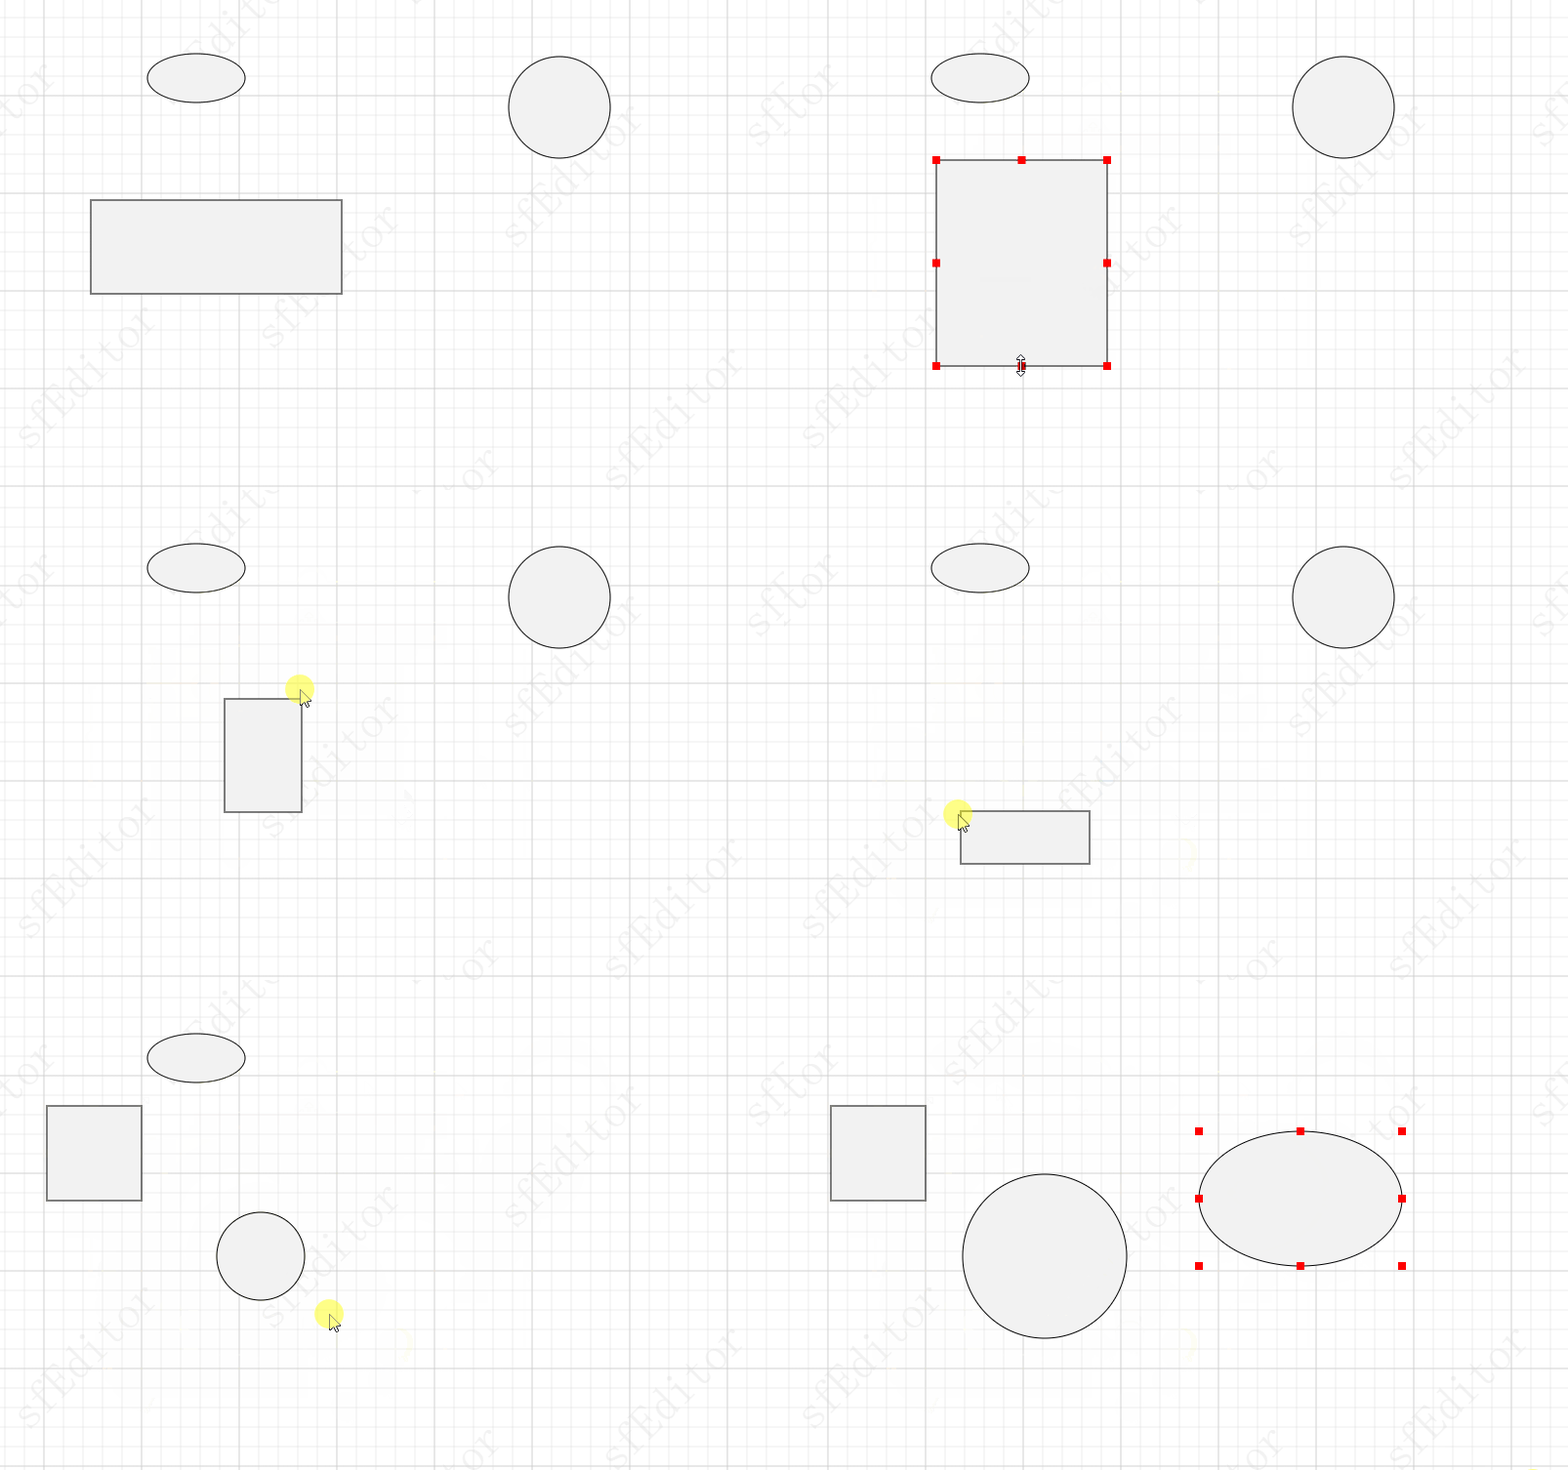
反向拖动的核心,就是处理定位坐标及宽高的关系
还有圆形椭圆的圆心坐标目前没有想到好的实现思路,如果大家有想法可以留言交流~
实现旋转锚点
旋转这块还有些技术问题还没攻克哈,特别是旋转了之后的移动,点线的创建都是问题,大家有思路可以留言讨论。
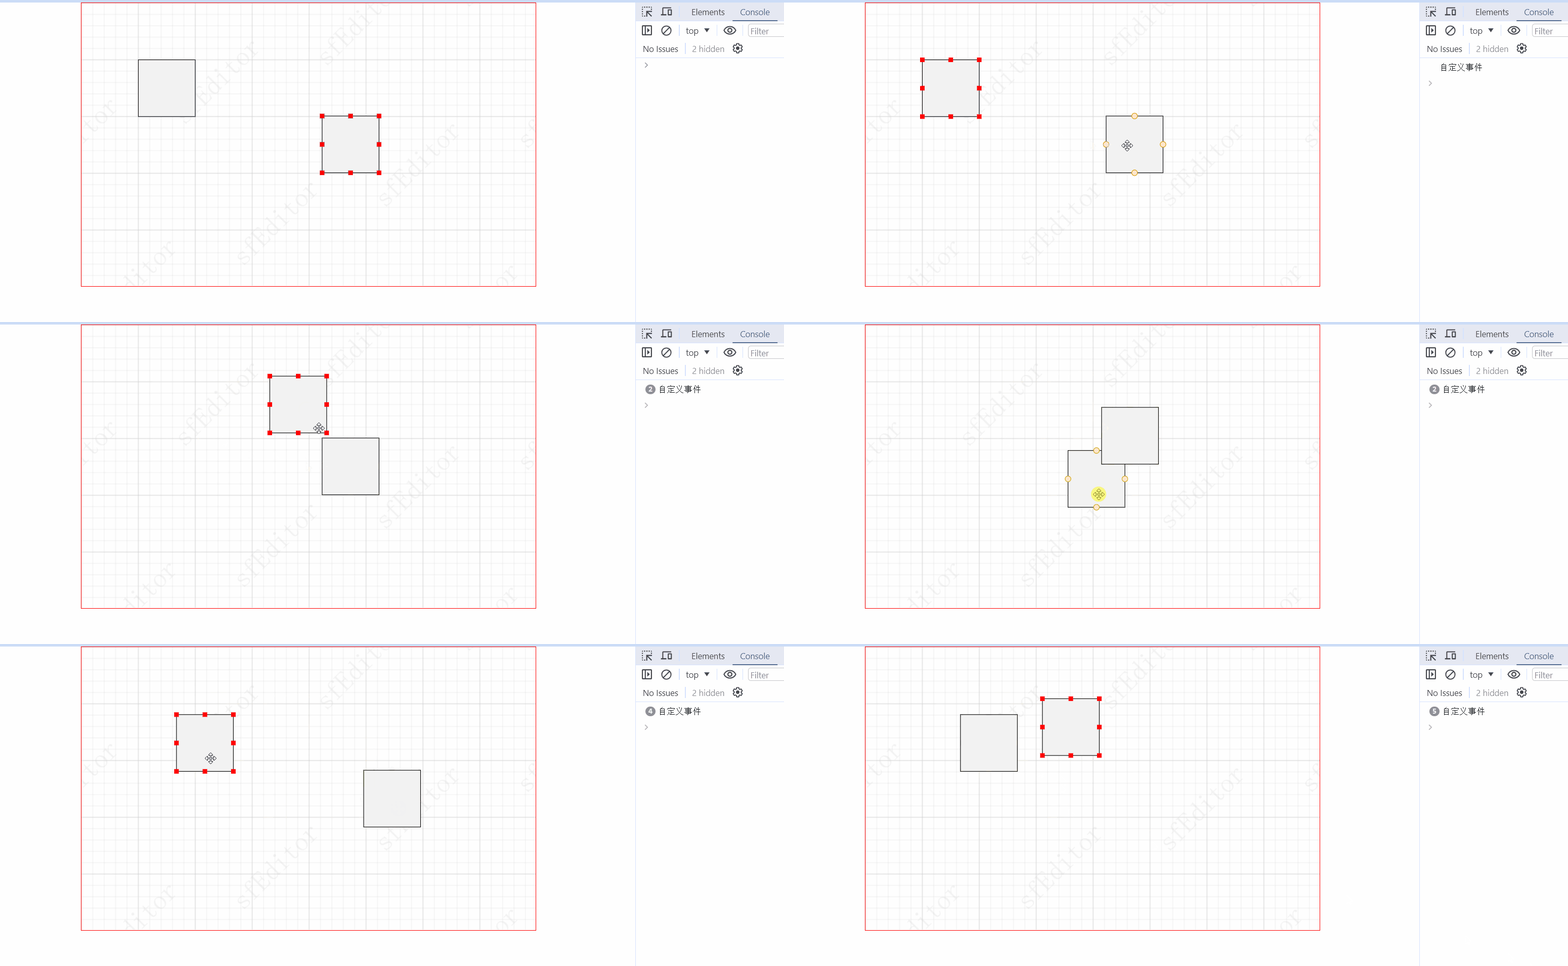
实现move移动
移动的核心就是 mousedown 记录点击位置,在move中,起始点移动了多少位置,元件的中心页移动多少位置即可!特别注意,rect 的定位是左上角,circle的定位是圆心,因此,不能直接将move的坐标直接赋给元件。【包括元件的移动,太快也会导致失焦,也可以考虑使用根元素move方法实现】
核心方法:
// dowm 记录初始位置 public mousedown(e: MouseEvent, graph: IGraph) { const { offsetX, offsetY } = e; const { x, y } = this.getElementPosition(graph.getElement()); this.startX = offsetX; this.startY = offsetY; this.graphX = x; this.graphY = y; this.move = true; } // 移动更新位置 public mousemove(e: MouseEvent, graph: IGraph) { if (!this.move) return; // 这个是新的 offset,直接与旧的 offset 进行运算即可得到差值,与当前位置做计算即可 const { offsetX, offsetY } = e; // 计算差值 const diffX = offsetX - this.startX; const diffY = offsetY - this.startY; graph.position.call(graph, this.graphX + diffX, this.graphY + diffY); } // 弹起重置参数 public mouseup(e: Event, graph: IGraph) { this.resetDefault(); }实现文本
使用div创建contenteditable的元素:
// 2. 当前位置创建 contentEditorabel div const element = graph.getElement(); // 获取当前宽度 高度 位置坐标 const width = graph.getWidth(); const height = graph.getHeight(); const x = graph.getX(); const y = graph.getY(); const left = element.tagName === "rect" ? x + "px" : x - width / 2 + "px"; const top = element.tagName === "rect" ? y + "px" : y - height / 2 + "px"; const div = this.draw.getHTMLElement("div"); div.classList.add("svg-flow-contenteditable"); div.style.width = width + "px"; div.style.height = height + "px"; div.style.left = left; div.style.top = top; // 内部创建div实现编辑,才能实现 const t = this.draw.getHTMLElement("div"); t.setAttribute("contenteditable", "true"); t.style.width = width + "px"; div.appendChild(t); // 添加到根元素 this.draw.addTo(this.draw.getRootElement(), div); // 自动获取焦点 t.focus();并且绑定失焦事件:
// 失去焦点事件 t.addEventListener("blur", () => { // 获取用户输入 const div = document.querySelector( 'div[class="svg-flow-contenteditable"]' ) as HTMLDivElement; const text = div.innerText; // 将内容添加到 graph 元素上 // 清空内容 this.clearContenteditable(); }); // 添加enter事件 t.addEventListener("keydown", (e: KeyboardEvent) => { if (e.code !== "Enter") return; // 执行 enter 结束 t.blur(); });跟随移动:
// 重新渲染文本位置 public updateTextPosition(graph: IGraph) { const element = graph.getElement(); const x = graph.getX(); const y = graph.getY(); // 获取文本节点 const textNode = element.parentNode?.parentNode?.querySelector("text"); textNode?.setAttribute("x", x.toString()); textNode?.setAttribute("y", (y + 5).toString()); }user-select: none;记得添加上这个属性哈,不然在移动过程中,会选中文字,导致拖动卡顿异常;pointer-events: none; 文本不响应鼠标事件,不然有了文本后,拖拽也会有问题。
右键菜单
在template 中定义好html结构,使用innerHTML添加到div 中,再将div添加到根元素上:
// svg 右键事件 public handleSvgContextmenu(e: Event) { const { offsetX, offsetY } = e as PointerEvent; // 先清空右键菜单 const menu = this.getContextmenu(); if (menu) { (menu as HTMLDivElement).style.left = offsetX + "px"; (menu as HTMLDivElement).style.top = offsetY + "px"; e.stopPropagation(); e.preventDefault(); return; } // 不存在则 创建svg右键菜单 const div = document.createElement("div"); div.classList.add("contextmenu-box"); div.style.left = offsetX + "px"; div.style.top = offsetY + "px"; div.innerHTML = contextmenu; // 添加事件!! div .querySelectorAll('div[class="svg-flow-contextmenu-item"]') .forEach((i) => { // 获取command i.addEventListener("click", () => this.handleContextmenu(i.getAttribute("command") as string) ); }); // 右键的右键不影响事件 div.addEventListener("contextmenu", (e) => { e.stopPropagation(); e.preventDefault(); }); setTimeout(() => this.root.appendChild(div)); e.stopPropagation(); e.preventDefault(); }实现用户自定义右键
// 自定义右键菜单 SFEditor.register.contextMenuList = [ { title: "测试右键菜单", callback: () => { console.log("点击了自定义菜单"); }, }, ];// 判断用户的自定义事件 nextTick(() => { const { contextMenuList } = this.register; if (!contextMenuList.length) return; // 将用户的自定义事件添加到 菜单中 contextMenuList.forEach(({ title, callback }) => { const d = document.createElement("div"); d.classList.add("svg-flow-contextmenu-item"); const spanIcon = document.createElement("span"); spanIcon.innerText = title as string; d.appendChild(spanIcon); d.addEventListener("click", (e: Event) => { callback && callback(e); }); div.querySelector(".svg-flow-contextmenu-svg")?.appendChild(d); }); });矫正右键菜单位置
// 右键菜单唤起事件需要矫正位置 private correctContextMenuPosition(div: HTMLDivElement, e: Event) { // 获取父元素的宽高 取 this.root const { clientHeight, clientWidth } = this.root; // 获取自身的宽高 const width = div.clientWidth; const height = div.clientHeight; const { offsetX, offsetY } = e as PointerEvent; var left = offsetX; var top = offsetY; // 如果 offsetX + width 超过父元素的宽度,则令left = offsetX-width if (offsetX + width > clientWidth) left = offsetX - width; if (offsetY + height > clientHeight) top = offsetY - height; div.style.left = left + "px"; div.style.top = top + "px"; }实现多实例化
多实例的核心是创建新对象:
// 1. 一定要基于创建的 构建的实例对象进行操作 const editor = new SFEditor(".flow-box"); Reflect.set(window, "editor", editor); // 这个是外部调用的关键 // 2. 创建yuanjian editor.Rect(200, 200); const editor2 = new SFEditor(".flow-demo2"); // 3. 执行动作 editor2.command.executeAddGraph({ type: "rect", width: 200, height: 200, });在每次创建实例时,都会生成新的div根节点、svg根节点,并且要求在操作dom时,都需要加上限制,不允许直接使用 document.querySelector 应该限制在当前节点下进行dom操作:

防止多实例dom相互影响。
总结
目前已经可以进行元件的基本操作,实现通过API调用实现响应功能、并且支持事件监听、用户事件注册等;但是还是少了些东西。例如线条、旋转、辅助线等,本来想一起放在本章节写的,但是有些技术难点还是没有想到实现方式,就留着下一节吧。
ts写起来确实要繁琐些,在项目构建之初,我将 svg 创建的元素都设置为 Element 类型,后来在设置属性、进行事件响应的时候总是有问题,后面又修改了属性类型为SVGSVGElement;项目初期,也没考虑多实例化,后面又改动了项目index的结构;同时,也为了实现项目事件监听回调,在多处进行事件埋点,整体的工作量也是挺大的,所以更新慢了些,大家见谅哈~
免责声明:本站所有文章内容,图片,视频等均是来源于用户投稿和互联网及文摘转载整编而成,不代表本站观点,不承担相关法律责任。其著作权各归其原作者或其出版社所有。如发现本站有涉嫌抄袭侵权/违法违规的内容,侵犯到您的权益,请在线联系站长,一经查实,本站将立刻删除。 本文来自网络,若有侵权,请联系删除,如若转载,请注明出处:https://haidsoft.com/139958.html


