大家好,欢迎来到IT知识分享网。
最近总是感叹,时间过的好快啊!似乎随着地球自转速度的加快,咱们的时间也越来越快了。
曾经,出门需要“伸手要钱”(伸,谐音身,指身份证;手,指手机;要,谐音钥,指钥匙,钱,指钱包)。现如今,只需要一部手机即可出门,无论是支付还是看时间,都是手机搞定。
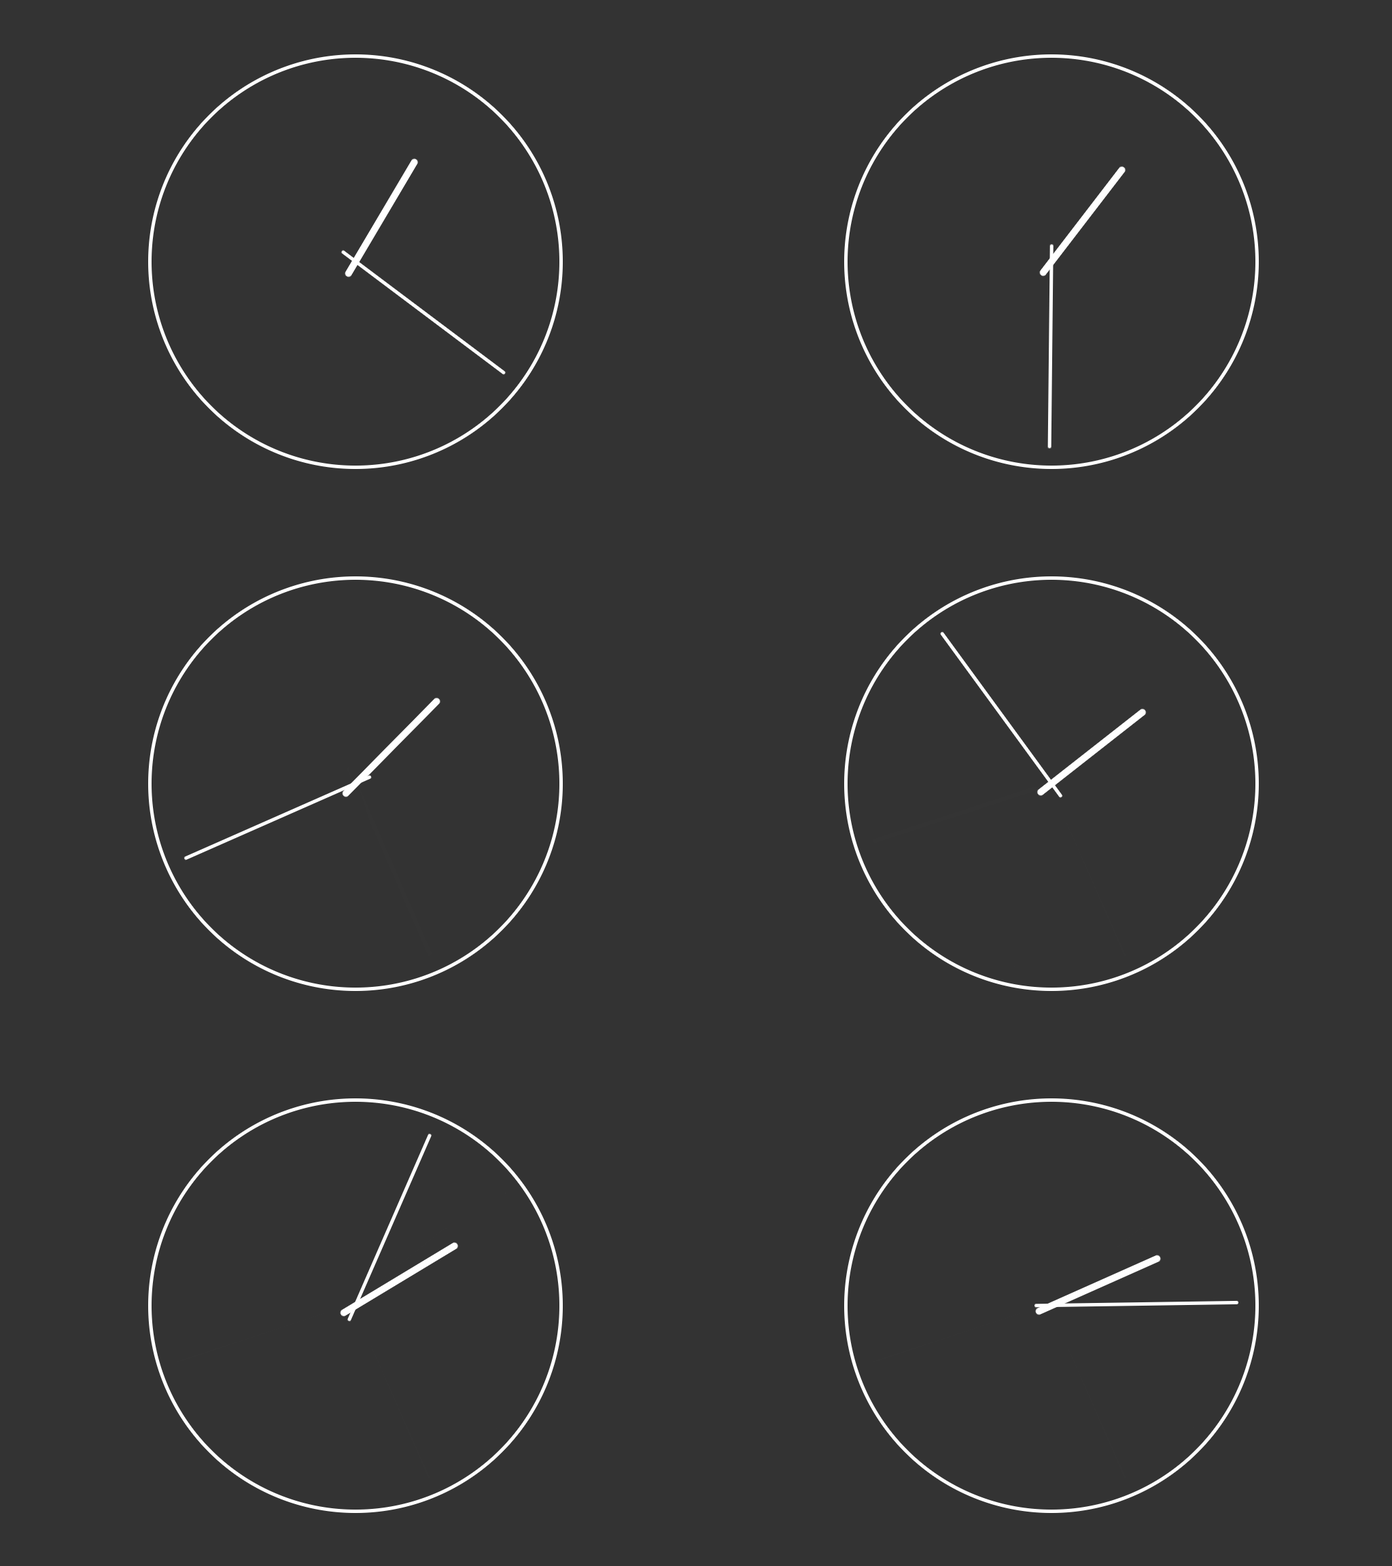
想到这里,突然好怀念以前的钟表,决定用前端写一个即将成为历史的时钟。
时钟是一个典型的案例,我将会根据不同技术架构,分为三个篇章进行展示:
样式篇:使用最基础的 HTML 和 CSS 构建一个时钟,只使用一个 DIV 元素,并使用 CSS3 动画实现时钟走动的效果;
行为篇:通过 JavaScript 引入当前时间,并让时钟与当前时间同步;
进阶篇:简化 JavaScript 配合 CSS4 的变量进行流畅动画。
最简约最普通的时钟,可以不显示时钟上的刻度,根据指针的大概角度可以判断时间。并且,我们甚至可以只显示时针和分针,把秒针省略。那今天我们就只用一个 DIV 元素写出这样一个简易的时钟。
一、写一个表盘
为了显示好看,设置整个页面背景为深灰色:
body { background: #333; }废话不多说,直接在 body 中写一个 div 元素:
<div></div>然后,为了显示方便,我们控制位置到屏幕中间,设置相同的宽度和高度,给一个白色边框,并使用 border-radius: 50%; 将其控制为圆形。
div { position: fixed; top: 0; right: 0; bottom: 0; left: 0; width: 600px; height: 600px; margin: auto; border: 5px solid #fff; border-radius: 50%; }效果如下:

简易时钟的表盘,就直接是这样一个圆圈。
下一篇章,我们把刻度加上,就会更加逼真。
二、时针与分针
任何一个元素,都具有 before 和 after 两个伪元素,这两个伪元素是以该元素为父元素,充当该元素的第一个和最后一个子元素。
这里,我们直接使用表盘 div 元素的 before 和 after 伪元素来实现时针与分针。
直接上代码:
div::before { position: absolute; top: 0; bottom: 0; left: 275px; width: 300px; height: 5px; margin: auto; background: #fff; border-radius: 5px; content: ""; } div::after { position: absolute; top: 0; bottom: 0; left: 275px; width: 200px; height: 10px; margin: auto; background: #fff; border-radius: 5px; content: ""; }使用 content 属性将伪元素激活。激活后效果如下:

我们会发现,before 和 after 中的很多代码是一样的,优化一下:
div::before, div::after { position: absolute; top: 0; bottom: 0; left: 275px; margin: auto; background: #fff; border-radius: 5px; content: ""; } div::before { width: 300px; height: 5px; } div::after { width: 200px; height: 10px; }这样,代码简化了,效果是一样的,两个指针已经出来了。
三、让指针走起来
上面的代码,聪明的您已经发现,我特意让指针的初始位置放在了竖直居中的位置。水平方向,我让其在中心偏左 25px 的位置。这样,我们就可以设置指针旋转的中心为水平 25px 且竖直居中的位置:
transform-origin: 25px center;放到代码中是:
div::before, div::after { position: absolute; top: 0; bottom: 0; left: 275px; margin: auto; background: #fff; border-radius: 5px; content: ""; transform-origin: 25px center; }接下来,我们定义指针的旋转动画,动画的定义为从 0deg 旋转到 360deg,这样我们只需要让动画不断重复即可。
@keyframes clock { from { transform: rotate(0deg); } to { transform: rotate(360deg); } }最后,我们分别设置每一个伪元素调用该动画。
div::before { width: 300px; height: 5px; animation: clock 1s linear infinite; } div::after { width: 200px; height: 10px; animation: clock 60s linear infinite; }我们设置动画为匀速的 linear,并设置 infinite 让动画可以不断重复。分针使用的是 before 伪元素,为了明显显示,我们设置绕一圈为 1s;时针使用的是 after 伪元素,绕一圈的时长是分针的 60 倍,这里就为了数据比例准确设置成 60s。

这样,我们就把一个简易的时钟写出来了。
完整源码
附上完整源代码,拿走不谢!
<!DOCTYPE html>
<html lang="en">
<head>
<meta charset="UTF-8" />
<meta name="viewport" content="width=device-width, initial-scale=1.0" />
<title>Clock</title>
<style type="text/css">
body {
  background: #333;
}
div {
  position: fixed;
  top: 0;
  right: 0;
  bottom: 0;
  left: 0;
  width: 600px;
  height: 600px;
  margin: auto;
  border: 5px solid #fff;
  border-radius: 50%;
}
div::before,
div::after {
  position: absolute;
  top: 0;
  bottom: 0;
  left: 275px;
  margin: auto;
  background: #fff;
  border-radius: 5px;
  content: "";
  transform-origin: 25px center;
}
div::before {
  width: 300px;
  height: 5px;
  animation: clock 1s linear infinite;
}
div::after {
  width: 200px;
  height: 10px;
  animation: clock 60s linear infinite;
}
@keyframes clock {
  from {
    transform: rotate(0deg);
  }
  to {
    transform: rotate(360deg);
  }
}
</style>
</head>
<body>
  <div></div>
</body>
</html>
↓
↓
↓
之后,我们会把秒针加上,把表盘的刻度加上,并且按照真实时间进行展示。尽情期待我们的“写个时钟(行为篇)”!
关注我,为您送上更多精彩内容!
免责声明:本站所有文章内容,图片,视频等均是来源于用户投稿和互联网及文摘转载整编而成,不代表本站观点,不承担相关法律责任。其著作权各归其原作者或其出版社所有。如发现本站有涉嫌抄袭侵权/违法违规的内容,侵犯到您的权益,请在线联系站长,一经查实,本站将立刻删除。 本文来自网络,若有侵权,请联系删除,如若转载,请注明出处:https://haidsoft.com/143881.html


